
Moving or copying files from your android smartphone to a USB flash drive can be a confusing process. This is not as simple as moving files from your computer to the memory drive. So, how can you do it?
Using PhotoStick is the best and easiest way to achieve it. However, if you don’t want to spend the money on another device, you may always use your laptop or get an OTG cable.
Over the internet, you might find many methods for completing the transfer process. But, not all methods are effective. Hence, I have found the best and easiest ways to move your pictures to a USB flash drive. So, if you wish to know about all the methods, read below.
How To Transfer Photos From Android Phone To USB Flash Drive?
Transferring images from an Android smartphone to a USB flash drive can be done in a variety of ways. Below, we’ll go over the best ways to achieve that.
Method 1: Transfer without OTG cable
The first method I will be discussing is transferring photos without an OTG cable. But you will need your computer or laptop for this.
Step 1: Installing Coolmuster
First, you will need to download the Coolmuster Android Assistant on your PC. This tool can transfer movies, images, music, contacts, SMS, call logs, applications, and other data from your Android phone or tablet to your computer. Just go to this link and follow the below steps to install the software easily.

- Go to the website and download the software on your PC.
- Install the software normally
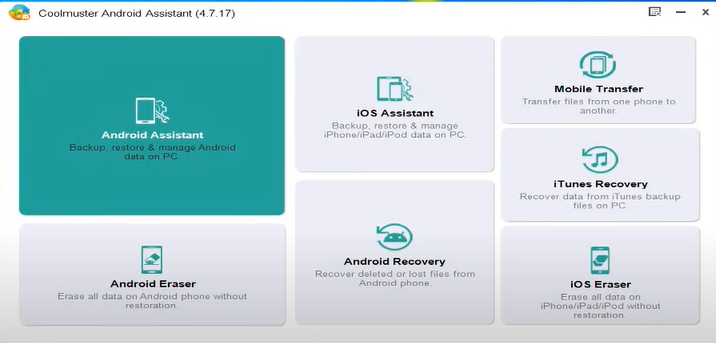
Step 2: Open the Software
After installing the Coolmuster software, open it and scroll your mouse to the first option, which is the “Android assistant.” Click and open that.
Step 3: Connecting USB and Phone to Computer
Now you’ll need to plug the backup memory drive into the PC where you’ll be backing up. Use your data cord to link your phone to the same computer. A port extender can be used if your computer does not have enough USB ports.

Allow USB debugging on your Android and provide access according to the instructions. The primary interface will reveal your phone’s information when the software detects your Android device. If you do not see the interface, then reconnect all the devices and make sure that the connections are secured.
Step 4: Time to Transfer Photos
Now on the left side, you will see the “Photos” option. You may see all of the photographs that have been saved on the Android phone in this folder. As a result, you can choose any photo or photographs to back up. You may even choose many items in a group.
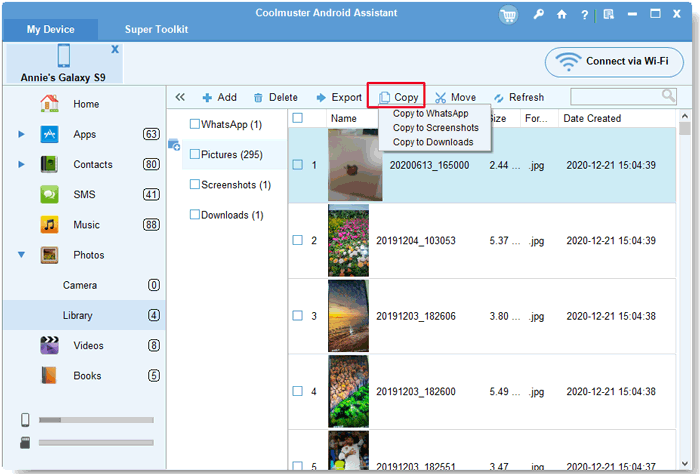
- After you’ve made your selection, click export.
- When you click export, you’ll be able to view all of the flash drives attached to your computer. Choose the one you need for backup and click OK. Your photos will begin to be exported to the USB flash drive by the program.
That’s how using the Coolmaster Android Assistant app, you can successfully transfer your images from your Android smartphone to a USB Flash drive.
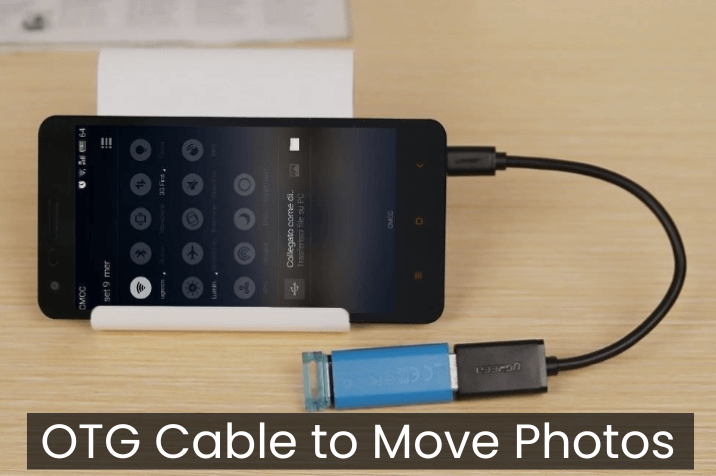
Method 2: Using OTG Cable to Move Photos
In case you do not have a PC or laptop around, or maybe you do not want to take the hassle of downloading any additional software. Then you can use this method to transfer any images you want from Android mobile to a backup memory.
Step 1: Check Storage
The first step is to check whether your USB storage device has enough storage to store your photos or not. As if it doesn’t have enough space in the middle of the transfer, the whole process could stop, and you will need to restart the entire procedure. Simply plug in your USB in any laptop or PC and check the available disk space.
Step 2: Finding the Correct USB
There are two options for directly connecting USB to your android phone; one is direct via a type C port and another through an OTG cable. Now, if your phone has a type C port, you just need to get a USB storage with a type C plug.
However, if your phone doesn’t support this, you can get an OTG cable. These are pretty cheap and work as an adapter to connect a flash drive directly to your android phone.
Step 3: Connecting Everything
Now, if your phone supports a direct connection, simply plug your USB flash drive into the type C charging port of your phone. And, if it doesn’t support it, then connect one end of the OTG to your phone’s charging port and the other to the USB flash drive. You will get a notification when the drive is successfully connected.
Step 4: Transferring Photos
Look for the file manager app on your phone. Enter there and look for internal storage. Inside internal storage, you will see the “DCIM”; this is where your photos are usually stored.

When you’ve found the photos you want, long tap one of them with your finger to skip going through them one by one. Now that you’ve made your choice go to the top-right corner options and select the copy option. Once your selected photos are copied, paste the photographs onto your USB flash drive folder, and you’re done.
Method 3: Using Drag and Drop
This is the last method that I found beneficial in moving your photos to a USB flash drive from an Android smartphone. Keep in mind, however, that this is the most time-consuming option. To learn how to do it, follow the instructions below.

- The first step is to connect your android device to the PC. Simply connect your phone to the PC using a data cable. As soon as you insert the cable, you will get a few options. You need to select the transfer files option.
- After that, go to “My Computer,” and you will see your android phone along with all your disks.
- Enter the phone and again look for DCIM. Here you will find all your photos.
- Simply select and copy all the pictures to transfer.
- Now insert the backup USB flash drive; paste all the photos inside the drive. The whole process might take some time, depending on the size of your pictures and the copy speed of your USB flash drive. Make sure your phone and USB connection doesn’t get disrupted during this whole procedure.
How To Transfer Photos From Android To Flash Drive With Photostick?
So far, we’ve covered three techniques for transferring images from your Android device to your USB flash drive. But among them, the easiest and standard method is to use a PhotoStick. It’s a USB flash drive with built-in advanced software designed to back up your memories automatically.
With one click, the device automatically backs up photos, videos, and media files. No software installation is needed; it detects and removes duplicate files with advanced artificial intelligence.
So, what are you waiting for? Discover the ultimate solution for transferring photos from Android to a USB flash drive. Search “ThePhotoStick Review” on Google and see for yourself why it’s the easiest and most reliable option out there. Down below, our step-by-step guide will guide you on using PhotoStick.
Step 1: Downloading the App
The first step is to download the PhotoStick app on your android phone. You can download the app for free from the play store.

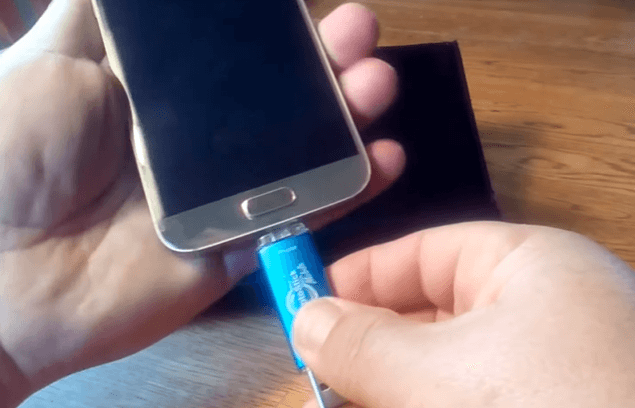
Step 2: Connecting the PhotoStick
Insert the PhotoStick USB flash drive into your phone’s charging port. Photostick mobile comes with different ports, so you won’t need any additional adapter to connect it to your phone. When you properly insert it into your phone, you will see a notification of a successful connection in your notification bar.
Step 3: Backing up in PhotoStick
Now, you will need to open the app. When you enter the app, you will see three different alternatives available here. To transfer your images, go to ‘Backup files now‘ and select that. You now have two options: backup all of your images or pick which photos you wish to move. Choose the one which you prefer.

Step 4: Transferring Files to USB
You are now done backing up the data in your PhotoStick; you can now open it from your phone.
Where Can I Buy Photostick Mobile?
PhotoStick Mobile is not available in any retail stores. You can find it on most online websites. However, the best choice is to buy it from their official website. You will get a money-back warranty, and discounts are sometimes available on their official website.
Conclusion
So far, I have discussed all possible ways to transfer pictures from your android smartphone to a USB flash drive. All these methods are well done and tested by our team; so I can assure you that all of these are 100% working.
Which method you choose is entirely up to you; select the procedure that appears to be the most practical to you. Regardless of which way you use it, make sure that you read the steps and carefully understand them. So, later you do not have to face any trouble or get stuck in the middle of the transfer.


