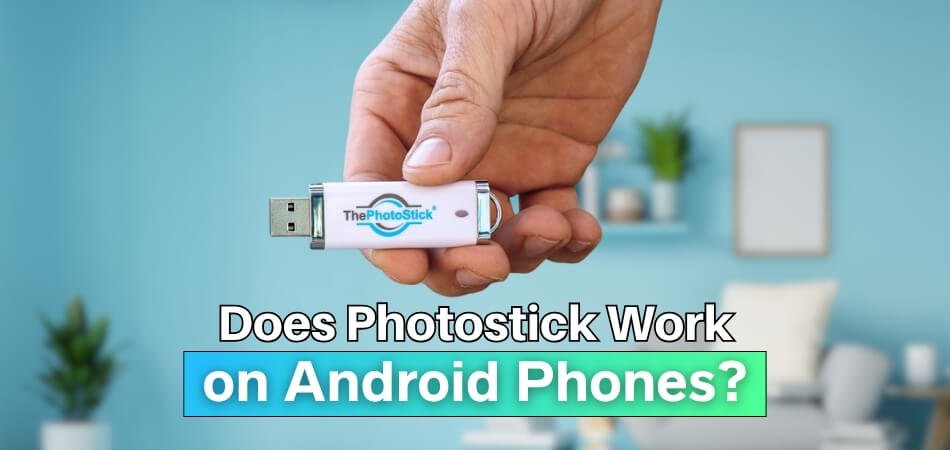
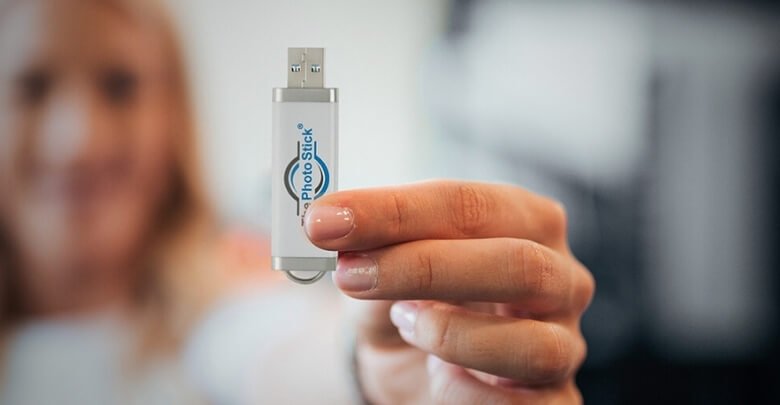
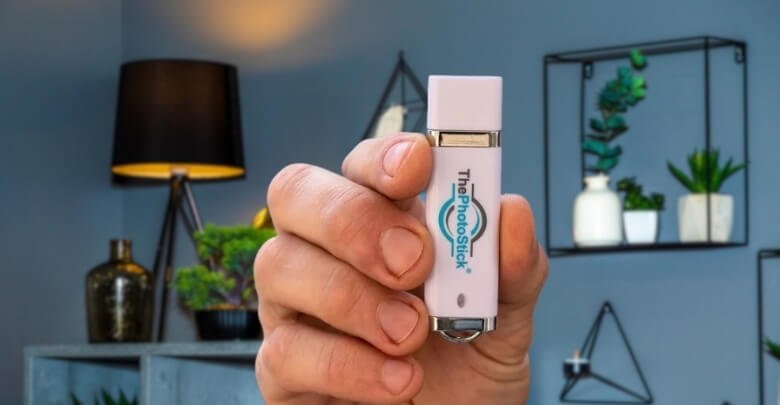
Photostick is a small and handy device that many people use to back up their photos and videos quickly. It’s simple and doesn’t need much setup, which makes it popular for those who don’t want to lose their memories. If you’ve heard about it, you might be wondering: Does Photostick work on Android phones?
Photostick works on Android phones, but you need to get the one made for mobile use. The regular Photostick for computers won’t work with Android devices. The mobile version, called “Photostick Mobile” or “Photostick Omni,” is made to connect with phones. It usually comes with the right plug or an adapter. Once you have the right one, it’s easy to use.
Do you want to know how to use the Photostick with your Android phone? Or are you curious about which steps to follow or which app to download? If yes, then keep reading—this article shares everything you need to know in one place.
Does Photostick Work on Android Phones?
Yes, Photostick does work on Android phones. It sounds like a great tool, especially when you have a lot of photos and videos on your phone. But before you try it, there are a few things to know. You can’t use just any Photostick—there’s a special version made for mobile devices. To learn how to use Photostick on Android phones, check out the steps below.

Get the Right Photostick
First, make sure you buy the Photostick that is made for Android phones. This version is sometimes called “Photostick Mobile” or “Photostick Omni.” Regular Photosticks for computers won’t work on phones. Check the product box or description to confirm it’s for Android. Buying the right one will save you time and trouble.
Check Your Phone Port
Before plugging it in, check what type of charging port your phone has. Most Android phones use USB-C, but older ones may use micro USB. Your Photostick should come with the correct connector, or you may need an adapter. Make sure the connector fits well so the device can work properly. If the stick doesn’t fit, don’t try to force it—just check if an adapter is needed.
Plug in the Photostick
Once you have the right version and connector, plug the Photostick into your phone. After plugging it in, your phone may show a message asking for permission. Tap “Allow” or “OK” so the phone can talk to the Photostick. If you don’t see any message, that’s okay too—just move to the next step. Make sure the device lights up or shows it’s connected.
Install the App
To make the Photostick work, you need to download its app. Go to the Google Play Store and search for the Photostick Mobile or Photostick Omni app. Once found, install it just like any other app. When it’s ready, open the app and follow the simple steps on the screen. The app helps control what files get backed up and where they go.
Start the Backup
Inside the app, you’ll find a “Go” or “Backup” button. Tap that button, and the app will start finding all your photos and videos. The process, when followed step by step, becomes easier by understanding how Photostick functions during backup. It will copy the files to the Photostick and skip any that it has already saved before. Just wait a few minutes, and your backup will be done.
Remove and Store Safely
After the backup is finished, safely remove the Photostick from your phone. You can now keep it in a safe place to protect your photos. This helps if your phone ever breaks, gets lost, or runs out of space. You can plug it in again anytime you want to back up new files. It’s a simple way to keep your memories safe.
Common Mistakes When Using ThePhotoStick on Android
Using ThePhotoStick with your Android phone can be super helpful, but only if it’s done the right way. Some users get confused or miss small steps, which leads to problems. These mistakes are easy to make if you’re not careful. Read on to find out what to avoid for a smooth experience.
Not Updating the App
Sometimes, the app needs an update to work properly with your phone. If it’s out of date, it might not open or could crash. Updates fix bugs and improve how the app runs. Make sure to check the Play Store for the latest version before you start. Keeping the app updated saves a lot of stress.
Forgetting to Charge Phone
Starting a backup with a low battery can cause the process to stop suddenly. If your phone dies in the middle, the files might not save right. Always charge your phone or keep it plugged in while using ThePhotoStick. A full battery makes the process smoother and safer. It’s a simple step that many forget.
Not Closing Background Apps
Having too many apps open can slow down your phone. This might cause the app to freeze or stop during the backup. It’s better to close other apps before using ThePhotoStick. This gives your phone more space and power to do the job right. A clear phone runs faster and works better.
Ignoring File Types
ThePhotoStick is made to save certain file types like photos and videos. If you’re expecting it to save documents or other files, it might not work as you thought. This isn’t a problem with the stick—it’s just not meant for that. Always check what types of files are supported. That way, you won’t be confused later.
Using a Faulty USB Adapter
If you’re using an adapter that’s old or damaged, the connection might fail. Sometimes the stick won’t be detected at all because of this. Make sure your adapter is working and fits tightly. A small hardware issue can stop the whole backup. Always check the gear before starting.
Not Restarting After Errors
Many people keep trying over and over without restarting their phone when something goes wrong. This can actually make things worse or cause the app to freeze again. A simple restart often clears out small bugs or glitches. It’s a quick fix that works more often than you’d expect—definitely worth doing.
Features That Make ThePhotostick Different From Other Storage Devices
There are many storage devices out there, but not all of them work the same way. Some are simple drives, and some come with extra tools to help save your files. ThePhotoStick has a few special features you might not expect. Let’s take a look at what makes it stand out.

One-Click Backup
The best thing about ThePhotostick is how easy it is to use. You don’t need to search for files one by one. With just one click, it finds and saves all your photos and videos. This saves time and keeps you from losing important memories. It’s fast, smart, and doesn’t need any extra steps.
No Internet Needed
ThePhotostick works without Wi-Fi or data. You don’t need to be online to save your files. This is really helpful if you’re in a place with no internet. You can back up everything anytime, anywhere. It gives peace of mind even when you’re offline.
Finds Hidden Files
Sometimes, photos and videos are saved in different places on your phone. ThePhotostick can search all folders, even the hidden ones. This means it doesn’t miss anything when doing the backup. You don’t have to go looking through every folder yourself. It handles everything on its own.
Skips Duplicates
You don’t have to worry about saving the same photo or video more than once. ThePhotostick is smart enough to spot files that are already backed up. It checks for repeat files before saving, and with automatic duplicate deletion with PhotoStick, your storage stays neat and clutter-free. This helps save space and avoids confusion. You’ll only have one clean copy of each memory.
Works on Many Devices
ThePhotostick can work on different types of devices. Some versions are made for computers, while others are for phones and tablets. It’s important to get the right version for your device. Once you do, it’s easy to switch between devices and save files. It’s made to be simple and flexible.
Organizes Automatically
When files are backed up, they don’t just sit there in a mess. ThePhotostick organizes them into folders by type or date. This makes it easy to find what you need later. You don’t have to sort them yourself. It keeps everything neat without extra work.
Types of PhotoStick That Are Available on the Market
Backing up photos and videos is something many people think about these days. With PhotoStick devices, it becomes a lot easier and faster. There are different types out there, each made for specific devices and uses. Here is what each type offers and how they help you.
The Original PhotoStick
This version is mainly made for use with desktop and laptop computers. It works well with both Windows and Mac systems. You just plug it in, open the app, and start backing up. It finds and saves your photos and videos automatically.
It doesn’t need any internet to work, which makes it great for quick backups. People who store most of their files on a PC will find this helpful. It comes in sizes like 8GB, 64GB, 128GB, and 256GB. Just choose the size based on how many files you want to store.
Key Features:
- No setup or login needed to begin
- Automatically skips duplicate files
- Backs up thousands of files in minutes
- Software built into the device (no installation required)
The PhotoStick Omni
Unlike the original version, this one works with phones and tablets too. It’s made for Android, iPhones, and even some iPads. It includes multiple connectors, so you can switch between devices easily. That means more freedom when backing up your files.
The Omni version also works with computers, making it more flexible. It’s a good choice for people who use both phones and PCs. Storage sizes are the same—starting at 8GB and going up to 256GB. You get a lot of space for all your memories.
Key Features:
- Supports mobile backup through a free app
- Works with USB-C, micro-USB, and Lightning ports
- Compatible with Android, iOS, iPadOS, Windows, and Mac
- Great for users who switch between phone and computer
How to Identify the Right PhotoStick Model for Android Use?
Buying a PhotoStick for your Android phone might sound easy, but there are a few things to check before choosing the right one. Not every model works the same, and using the wrong one can cause problems. The good news is, finding the correct model isn’t hard at all. Let’s look at the key things that will help you pick the right one.

Look for Mobile Label
Always check if the box or product name says “Mobile” or “Omni.” These are made to work with phones, not just computers. If it only says “PhotoStick” without these words, it may be for laptops or desktops only. Make sure the label clearly mentions mobile support. This small step can help avoid confusion later.
Read Real Reviews
Before buying, check what other people say about the model. Reading something like ThePhotoStick Review can give you a better idea of how well it works on Android phones. If many people have had success with it on their phones, that’s a good sign. Reviews also help you learn about any common problems. They give you an idea of what to expect.
Check USB Type
Different phones have different charging ports. Most new Android phones use USB-C, while older ones may use micro USB. Make sure the PhotoStick you choose has the right connector. Some models come with both types or include an adapter. Picking the correct one ensures it fits your phone.
Confirm Android Support
Some PhotoSticks are only made for iPhones or iPads. Check the product info to be sure it says it works with Android. If it only lists iOS, it won’t work for your phone. You should also see a note about Android compatibility in the app description. This helps avoid picking the wrong version.
App Availability
The correct model will have an app available on the Google Play Store. Search for “PhotoStick Mobile” or “PhotoStick Omni” in the store. If the app is there, that’s a good sign the stick will work with your Android. Without the app, the device won’t function. Always check for the app before you buy.
Storage Size Options
PhotoSticks come in different sizes, like 32GB, 64GB, and 128GB. Think about how many photos and videos you want to save. If you take a lot of pictures, go for a bigger size. Choosing the right storage helps avoid running out of space too soon. It also saves you from buying another one later.
Buy from Trusted Sellers
Some sellers may offer cheap copies that don’t work well. Always buy from the official site or trusted shops. This makes sure you get a real and working product. Fake ones may not work with your phone or stop working quickly. Spending a bit more is better than wasting money on a fake.
Frequently Asked Questions
If you’re thinking about using a PhotoStick with your Android device, you might still have a few questions. There are many little details that people often overlook. These FAQs will help you understand how it works and what to expect.
Does PhotoStick Require Any Special Phone Settings?
No special settings are required to use the PhotoStick on Android phones. But you should make sure file transfer permissions are allowed when prompted. Also, turning off battery saver or data saver during use can help the app and device run smoothly.
What Happens If the App Crashes?
If the app crashes while backing up, don’t worry. Your files won’t be deleted or lost. Simply close the app, restart your phone, and try again. The PhotoStick will skip files it has already saved and continue from where it stopped.
How to Tell If Backup Was Successful?
After backing up, open the app or file manager to check the files on the PhotoStick. You’ll see folders with your saved photos and videos. If they appear clearly and match what’s on your phone, the backup was successful and complete.
Which App Is Needed for Android?
For Android users, you’ll need either the “PhotoStick Mobile” app or the “PhotoStick Omni” app, depending on your stick model. These are free on the Google Play Store. Only these apps are designed to work with the PhotoStick on Android phones.
How to Safely Remove the PhotoStick?
Once backup is complete, you should close the app first. Then go to your phone’s settings or use the USB notification bar to safely eject the device. This helps avoid file damage or corruption. After that, you can unplug it safely.
What Kind of Adapter Is Needed?
If your phone doesn’t have a USB-C port, you may need a micro USB adapter. Most newer sticks come with multi-type connectors or OTG adapters. Always check the box to make sure your connector type is included or supported.
Which Storage Size Should I Buy?
The size you choose depends on how many files you have. For light use, 32GB or 64GB is usually enough. If you store lots of videos or high-resolution photos, go for 128GB or more. Bigger sizes help avoid filling up too quickly.
Conclusion
Backing up memories shouldn’t feel like a chore—and that’s where the Photostick comes in. It’s not just another storage tool; it’s a simple way to save photos and videos without stress. Whether you’re at home or traveling, it keeps your files safe and easy to reach.
If you’ve been asking yourself, Does Photostick work on Android phones, the answer is yes—but only if you choose the right version made for mobile. Getting the correct model, checking for the app, and knowing your phone’s port are small steps that make a big difference.
So, if you’re someone who snaps a lot of pictures and wants a quick way to back them up, ThePhotoStick might be exactly what you need. Just follow the tips, and you’re good to go!


