
Keeping your toothbrush clean might not always cross your mind, but it plays a big role in your health. A damp bathroom, poor storage, or simply forgetting to dry your brush can create the perfect environment for fungal growth. Left unchecked, this can harm your oral hygiene.
Wondering how to remove fungus from a toothbrush? The process is actually simpler than many expect. By rinsing, soaking, drying, and sometimes using natural household items, you can get rid of harmful buildup. For extra safety, UV sanitizers also provide advanced protection that keeps your brush fresh and germ-free.
Preventing fungus isn’t just about cleaning; it’s about building better habits. With the right approach, you can keep your toothbrush safe and your smile healthier. Continue reading this article to discover effective tips and long-term solutions that make every brushing session truly safe.
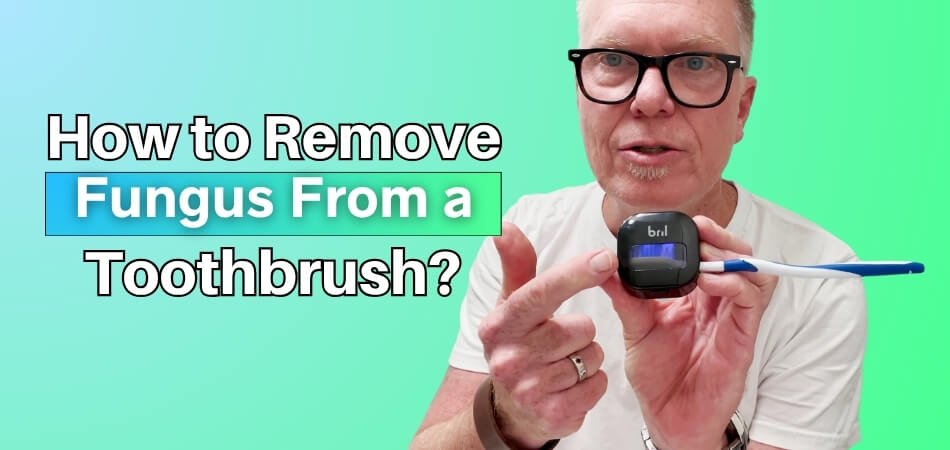
How to Remove Fungus From a Toothbrush?
Fungus can easily develop on toothbrush bristles when moisture and germs linger after brushing. This is more than just unpleasant—it can harm your oral health if left unchecked. Luckily, removing it isn’t complicated. In this article, we’ll go through the causes, prevention methods, cleaning options, and when it’s best to replace your toothbrush. Start today to keep your brush germ-free. Here’s the step-by-step process to sanitize your toothbrush every day.
Rinse With Hot Water Immediately
Right after brushing, run your toothbrush under hot water for 20–30 seconds. This flushes away leftover toothpaste, food particles, and surface bacteria. While water alone doesn’t kill everything, as highlighted in many Bril review found online, it reduces buildup and prepares the bristles for deeper sanitization methods.
Soak in Mouthwash or Hydrogen Peroxide
Place the toothbrush head in a small cup filled with mouthwash or a diluted hydrogen peroxide solution. A one-minute soak works well to kill bacteria and fungal spores. Many users find this simple routine effective until they invest in a UV sanitizer for added protection.
Use Baking Soda Once a Week
Mix one teaspoon of baking soda in half a cup of water and soak your brush weekly. Baking soda neutralizes odors and slows fungal growth naturally. It’s a safe, low-cost option that complements other cleaning methods, much like how Bril enhances everyday hygiene with UV light.
Keep the Toothbrush Dry Between Uses
Moisture is a fungus’s best friend. After cleaning, store your toothbrush upright in an open holder where air circulates freely. Avoid closed plastic caps or cases, which trap humidity. Bril’s review highlights this too—its UV chamber works as a drying and protective shield, unlike ordinary holders.
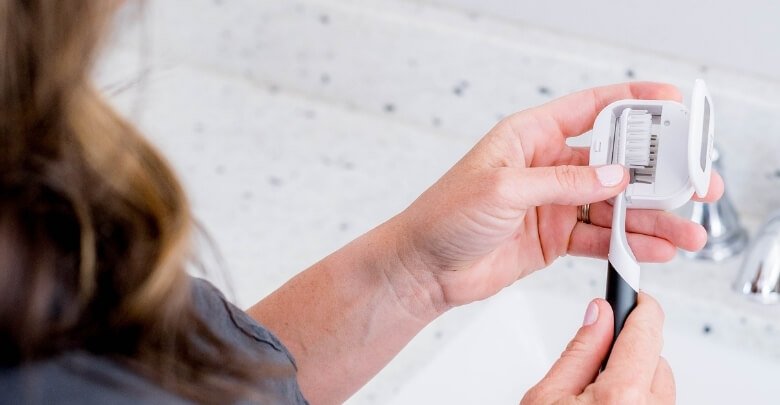
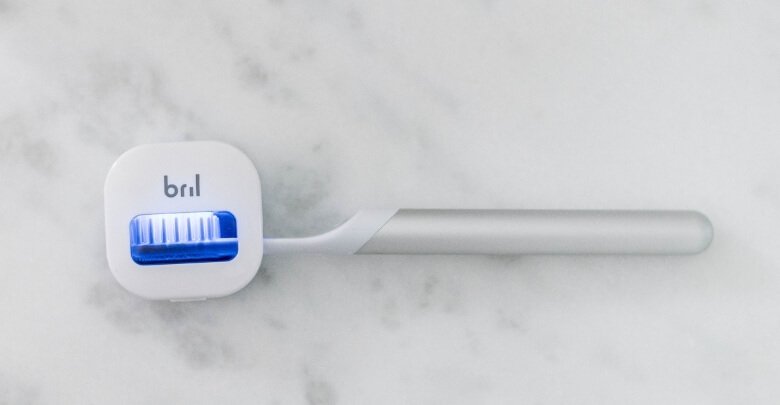
Consider a UV Toothbrush Sanitizer
If you want a higher level of confidence, try a UV sanitizer like Bril. These compact devices use UV-C light to kill up to 99.9% of bacteria and fungi within minutes. Unlike boiling water or bleach, they’re safer and more convenient, making them a reliable long-term choice for daily sanitization.
Sanitizing your toothbrush every day keeps it fresh, clean, and safe for your mouth. Whether you stick to hot water and home remedies or choose a UV device like Bril for hands-free sterilization, consistency is what matters most. A clean toothbrush means fewer germs, healthier gums, and the peace of mind that every brush starts truly fresh.
Why Does Fungus Grow on a Toothbrush?
Fungus grows in places that are warm, damp, and often overlooked, making your toothbrush a perfect breeding ground. Understanding why it happens helps you prevent it more effectively. Below are the main conditions that encourage fungal growth, and a simple example that shows how everyday storage habits can create the problem.
Moist Bathrooms
Bathrooms naturally stay damp due to frequent use of showers and sinks. When a toothbrush is left in this environment, moisture lingers on the bristles and creates a perfect space for fungi to grow. Even small splashes of water on the sink or mirror area can keep the brush from drying fully.
Lack of Ventilation
Poor air circulation traps humidity in the bathroom, keeping the toothbrush wet for longer periods. When there is no proper airflow, moisture does not evaporate quickly, and fungal spores thrive. Ventilation, such as using an exhaust fan or keeping windows open, helps reduce this risk and supports better hygiene.
Closed Storage When Still Wet
Storing a damp toothbrush in closed containers, covers, or drawers traps moisture inside. This closed environment stops the brush from drying and allows fungus to multiply quickly. An example is keeping your toothbrush in a travel case after use, where it stays wet and becomes a breeding spot for germs.
Fungus grows on toothbrushes mainly because of constant moisture and poor storage habits. By identifying these common conditions, you can take steps to improve drying and ventilation, reducing the risk of contamination. Small changes in storage can make a big difference in keeping your toothbrush clean and safe for daily use.
Signs Your Toothbrush May Already Be Contaminated
A toothbrush that looks or smells unusual may already be affected by fungal or bacterial buildup. Paying attention to these signs helps you act before they impact your oral health. Below are three of the most common indicators that your toothbrush is contaminated and should either be sanitized immediately or replaced.
Black, Green, or White Spots
One of the clearest signs of fungus is the appearance of black, green, or white patches on the bristles. These spots often begin small but spread quickly when the brush remains damp. Such discoloration is a visible warning that microorganisms are present, and continuing to use the toothbrush could spread them in your mouth.
Musty or Unpleasant Odor
If your toothbrush gives off a musty, sour, or unpleasant smell even after rinsing, it is likely contaminated. Odors usually come from bacteria and fungi multiplying on damp bristles. This is not something rinsing alone can fix, and it’s often a sign that deeper cleaning or replacement is necessary for safety.
Weak or Worn Bristles
When fungus or bacteria accumulate, they can weaken the bristles, causing them to bend, fray, or soften before their usual lifespan. A brush that feels less firm or shows uneven wear may be compromised by germs. Using it will not clean teeth effectively, and it increases the chance of spreading harmful microorganisms.
Regularly checking your toothbrush for these warning signs keeps you one step ahead of fungal growth. Replacing or sanitizing a contaminated brush helps protect your mouth from unnecessary risks. By making inspections part of your routine, you can maintain stronger oral hygiene and enjoy peace of mind with every brushing session.
Note: In addition to these main indicators, other subtle signs like sticky residue on the handle or bristles wearing out unusually fast can also point to contamination. While not always obvious, they are worth noticing during routine checks.
Household Items That Can Kill Fungus Effectively
You do not always need specialized products to fight fungus on your toothbrush. Several common household items can disinfect bristles and lower the risk of contamination. These everyday options are affordable, easy to find, and effective when used regularly, since they help reduce toothbrush bacteria survival in the long run.
White Vinegar
White vinegar is a natural disinfectant that works against fungus and bacteria. Soaking your toothbrush in a solution of vinegar and water for about 30 minutes helps break down fungal growth and neutralizes odors. It is gentle on bristles while providing a strong antifungal effect.
Baking Soda
Baking soda balances pH levels, making it harder for fungus to survive. Dissolve a teaspoon of baking soda in half a cup of warm water and soak the toothbrush for a few minutes. This solution also helps remove musty smells and keeps the bristles fresher.
Hydrogen Peroxide
Hydrogen peroxide is well known for its antibacterial and antifungal properties. A short soak in a diluted solution kills harmful spores and prevents them from multiplying on your toothbrush. It is effective, fast, and safe for regular use when mixed properly with water.
Antibacterial Mouthwash
Most antibacterial mouthwashes contain ingredients that destroy germs and reduce fungal buildup. Simply placing your toothbrush head in a small cup of mouthwash for a minute or two provides a quick and convenient sanitizing step. This method also leaves the bristles smelling fresh.
Household items like vinegar, baking soda, hydrogen peroxide, and mouthwash can be powerful tools against toothbrush fungus. While simple, these solutions deliver reliable results when used consistently. Adding them to your routine helps protect oral health, making sure your toothbrush stays clean and safe for daily use.
Tips to Prevent Fungus from Returning to Your Toothbrush
Cleaning your toothbrush is only half the job; keeping it fungus-free over time requires consistent care. When you sanitize toothbrush daily and follow a few simple habits, you can stop contamination from coming back and ensure long-term oral hygiene.
- Rinse and Air-Dry After Each Use: Always rinse your toothbrush thoroughly with clean water after brushing. Shake off excess moisture and allow it to air-dry naturally. A dry brush reduces the chance of fungal spores settling and growing.
- Store Upright in an Open Holder: Placing your toothbrush upright in an open holder allows air to circulate freely. Proper airflow dries the bristles faster, making it harder for fungus to survive. Shareholders should keep brushes separated.
- Avoid Closed Containers or Damp Areas: Closed cases or containers trap moisture, creating an environment where fungus thrives. Similarly, storing brushes near damp sinks or showers increases risk. Choose a dry, open spot to keep your toothbrush safe.
- Use a Toothbrush Sanitizer (Optional): For added protection, consider using a UV toothbrush sanitizer. Devices like Bril keep brushes clean by killing 99.9% of germs. This extra step provides peace of mind, especially in shared bathrooms or during travel.
By combining good storage habits with regular drying and occasional sanitizing, you can greatly reduce the risk of fungal growth. These preventive measures ensure that your toothbrush remains fresh, safe, and ready for every use.
When Should You Replace a Fungus-Exposed Toothbrush?
Even with consistent cleaning, there are times when keeping a toothbrush simply isn’t safe. Fungus can compromise bristles beyond repair, and using such a brush risks reintroducing germs into your mouth. Knowing when replacement is necessary ensures your oral hygiene stays protected and effective. Here are the key signs that tell you it’s time to switch to a new toothbrush:
Visible Fungus or Discoloration
If you notice black, green, or white spots on the bristles, replacement is the safest choice. Cleaning may remove some buildup, but visible fungus often signals deeper contamination. Continuing to use the brush can spread germs and increase the chance of oral infections.
Persistent Odor Despite Cleaning
A toothbrush that smells musty or unpleasant, even after soaking or sanitizing, should be discarded. Odor indicates trapped bacterial or fungal growth within the bristles. Once this happens, cleaning solutions are unlikely to restore the brush to a safe condition.
Dentist-recommended Timeline
Dental professionals advise replacing your toothbrush every three months or sooner if it shows signs of wear or contamination. Bristles naturally weaken with daily use, and a compromised toothbrush cannot clean teeth effectively, even if the fungus isn’t visible.
Replacing a toothbrush on time is just as important as cleaning it. If signs of fungus appear or the bristles feel worn, it’s best to start fresh. Combining prevention habits with timely replacement ensures safe brushing and long-lasting oral health.
Frequently Asked Questions
It’s common to still have a few questions even after learning how to clean, prevent, and replace a toothbrush affected by fungus. Below are some helpful answers to common concerns people often ask after reading about toothbrush hygiene.
Can a Fungus-exposed Toothbrush Make You Sick?
Yes, using a fungus-exposed toothbrush can increase your risk of infections. Germs may spread into your mouth, causing gum irritation or other issues. Replacing or sanitizing your brush quickly helps avoid health problems.
Is Boiling a Toothbrush Safe for Removing Fungus?
Boiling water can kill germs, but it may also damage the toothbrush bristles. Softened bristles won’t clean your teeth properly. It’s better to use safer alternatives like hydrogen peroxide or UV sanitizers.
How Do Shared Bathrooms Affect Toothbrush Hygiene?
Shared bathrooms increase exposure to airborne germs and cross-contamination. When toothbrushes are stored close together, fungi can transfer easily. Using an open holder with space between brushes or a UV sanitizer lowers these risks.
Should Children’s Toothbrushes Be Sanitized Differently?
Children’s toothbrushes need the same level of care as adult ones. However, sanitizing should be done with gentle methods like mouthwash soaks or UV devices. Avoid strong chemicals, as they might harm delicate bristles.
Can Travel Cases Cause Toothbrush Fungus?
Yes, travel cases often trap moisture inside if the brush isn’t fully dry. This damp setting encourages fungal growth. Always dry your toothbrush before packing it, and open the case once you arrive.
Do Electric Toothbrush Heads Get Fungus Too?
Electric toothbrush heads can develop fungus just like manual brushes. Since they’re often larger, they take longer to dry. Regular cleaning, proper storage, and timely replacement are key to keeping them safe.
Is It Worth Buying a UV Toothbrush Sanitizer?
Yes, UV sanitizers like Bril add extra protection against fungus and bacteria. They are easy to use and provide peace of mind. For households with kids or shared bathrooms, they’re especially useful.
Concluding Words
Learning how to remove fungus from a toothbrush is about protecting your daily health routine. A clean brush means fewer germs entering your mouth and more confidence in your overall oral care. Small steps can make a big difference.
By using simple cleaning methods like rinsing, soaking, and drying, you can prevent most issues. Adding safe household items or a UV sanitizer provides even stronger protection, especially in shared or damp spaces where fungus is more likely to grow.
Replacing your toothbrush on time also ensures better results. When you combine good habits with regular checks, you avoid hidden risks and enjoy healthier brushing. Start applying these tips today to keep your toothbrush safe and your smile fresh every single day.


